

The foundation of any good network is PKI - and DNS. Mostly DNS really, but also PKI.
The reason why there are so many SSO vendors is because there are studies done on how many labor hours are wasted by logging into services and those statistics are very compelling. The only thing more wasteful of clicks and time are self-signed certificates and if you have a lab I’m sure you’ve seen one too many of these:
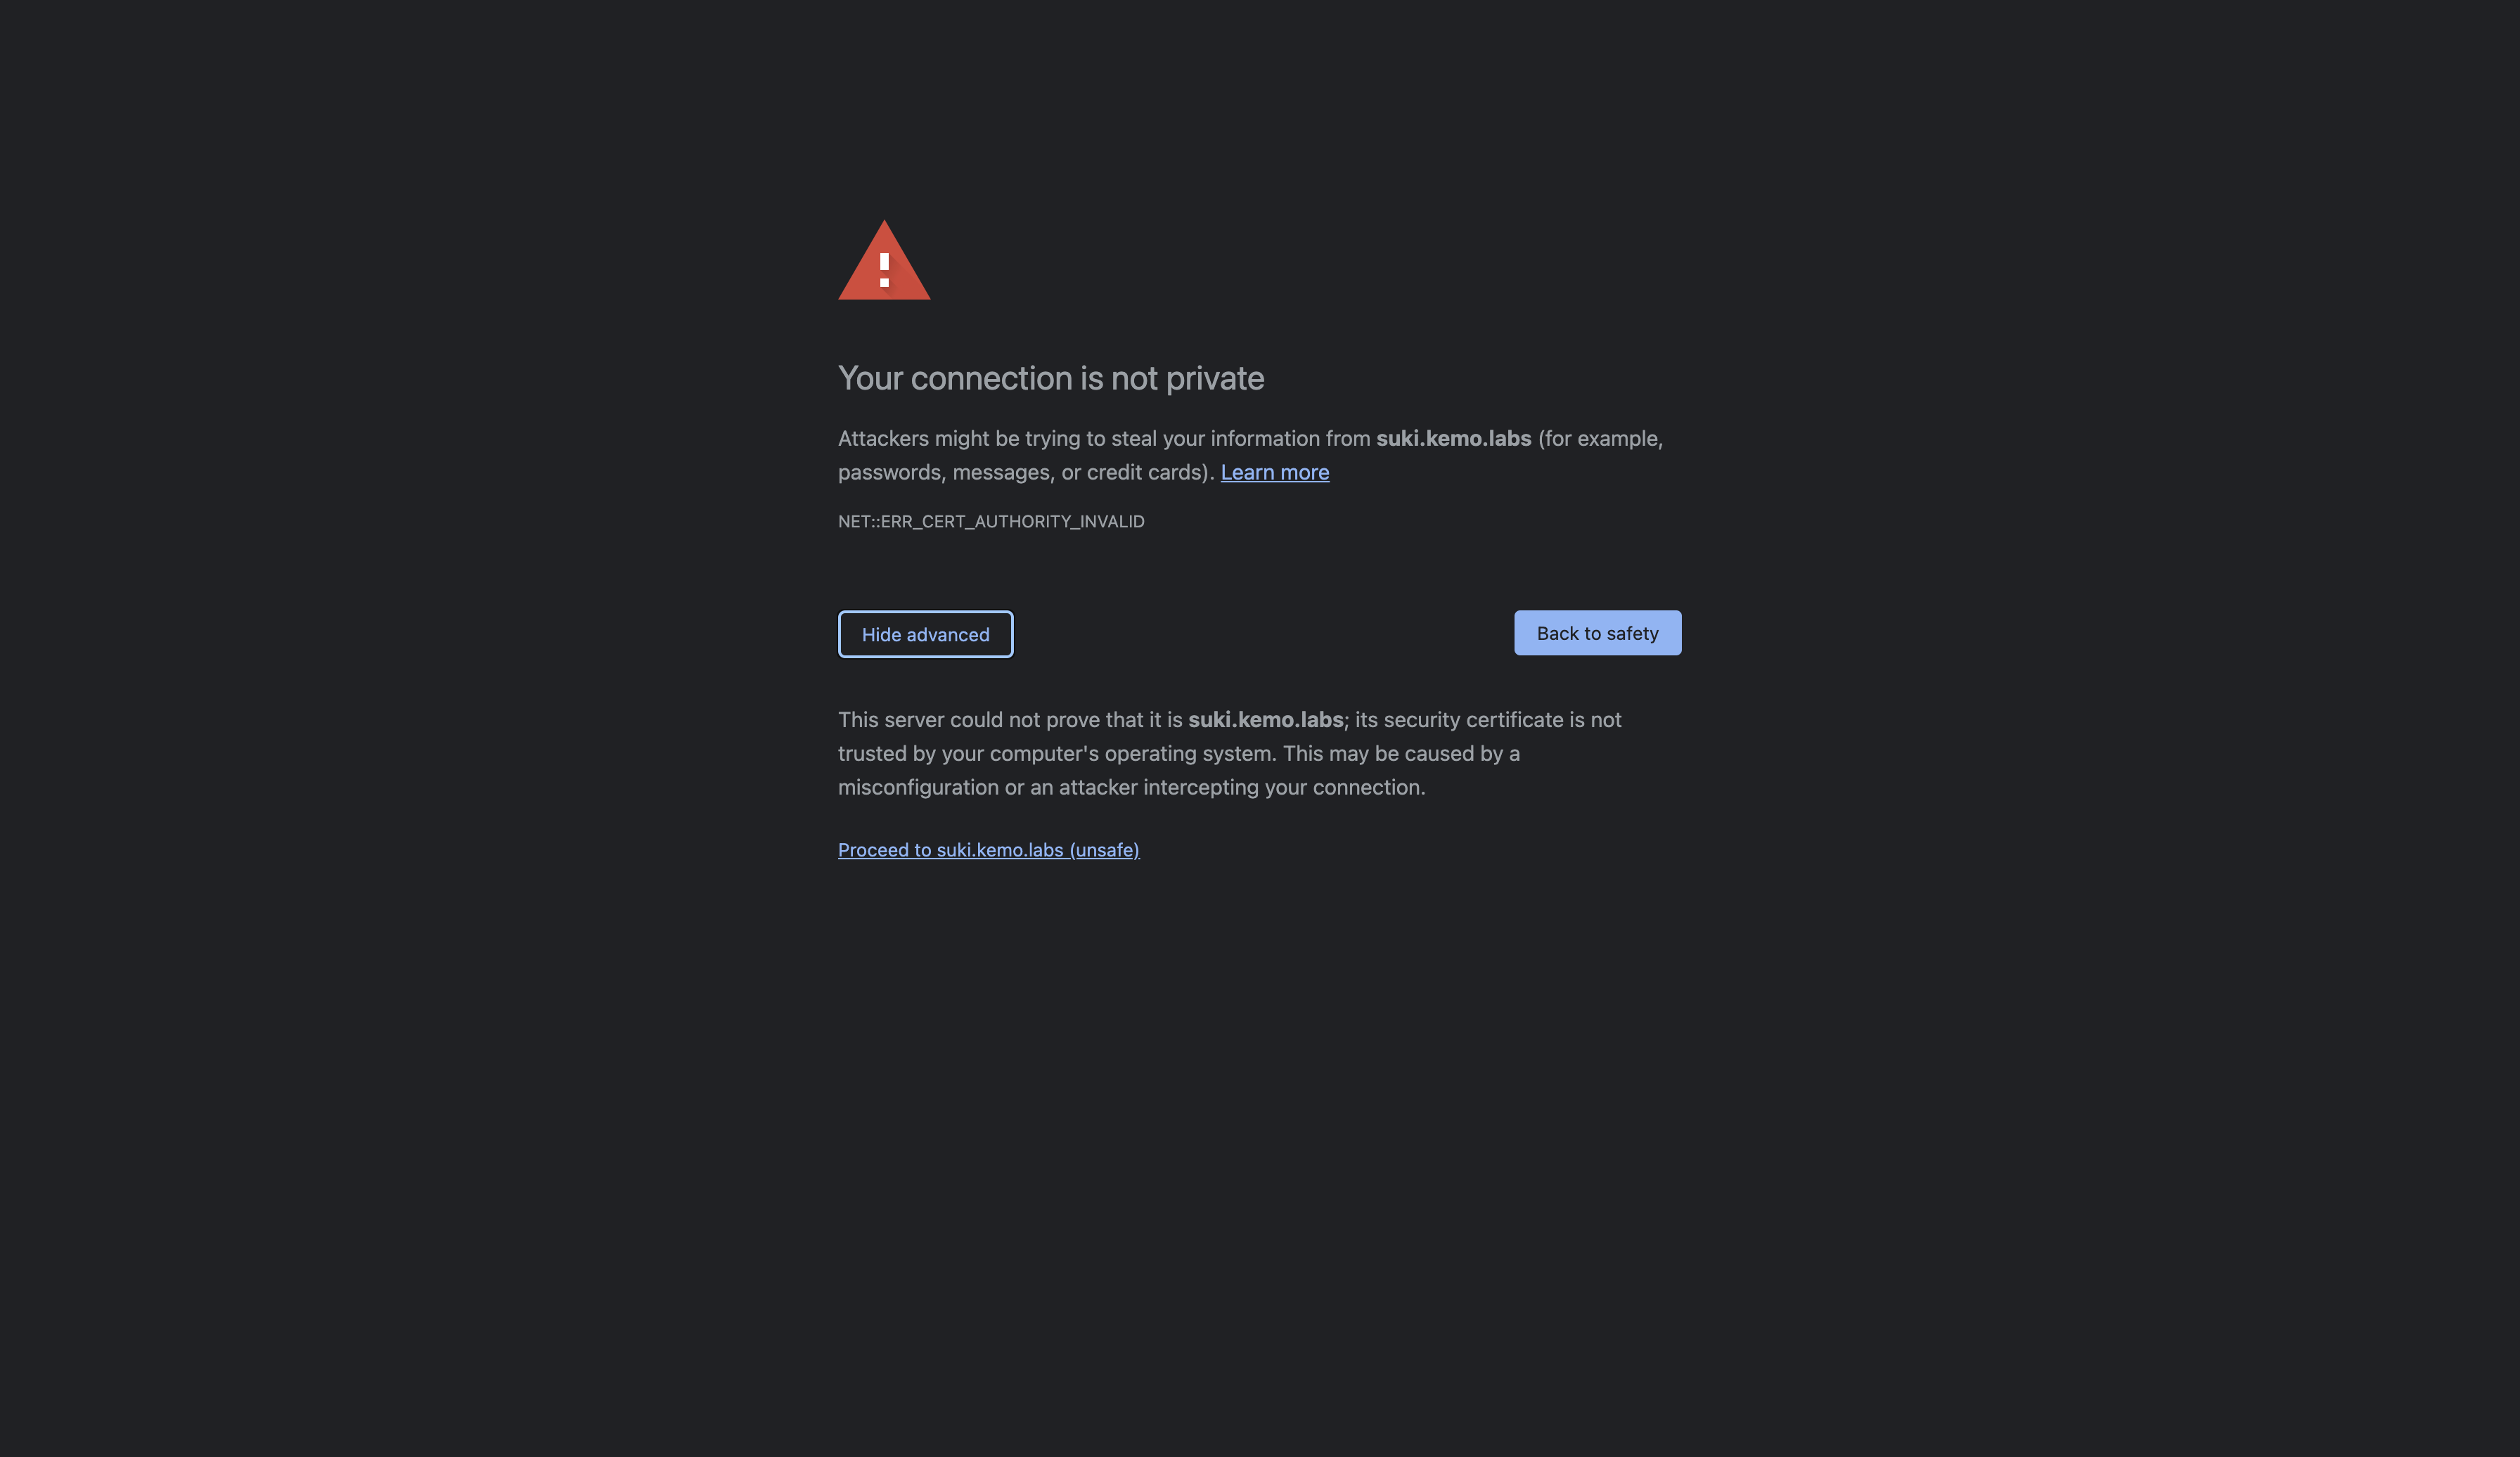
These self-signed SSL are sometimes generated by the service when it starts if it’s not supplied a certificate, such as in the case of the Cockpit Web UI, which I’ve already detailed how to replace with your own.
Other times a tutorial will teach you to run some openssl command to generate a self-signed certificate with some loose guidance on what it does and how to use it to a specific end - in an upcoming article I’ll provide guidance to that process in greater detail with steps to create a robust PKI chain.
In this article, I’m going to detail how to get up and running with SmallStep CA, which will not only easily create a Root and Intermediate Certificate Authority for you, but provide easy interfaces to generate client, server, and user certificates, such as with with ACME like one would with Let’s Encrypt.
What is SmallStep CA?
SmallStep is a vendor that provides an open-source platform for generating and operating Certificate Authorities. There are two primary components, the first being step-ca which maintains the certificate chain and serves the provisioners such as ACME. The second is the step CLI tool, which interacts with that certificate chain for actions such as generating a certificate. SmallStep even offer a cloud and self-hosted platform that extends upon the functionality provided by these open-source tools.
PKI Basics
There are all sorts of components to the Public Key Infrastructure landscape, and a number of different standards, algorithms, encoding types, and so on. The composition of such provide functions to encrypt data, ensure identity, provide trust, and manage the distribution of digital certificates. At the heart of all of them are a few core bits:
- Encryption - A Public and Private Key Pair. The Private Key is the part you keep safe and secret and it’s what is used to sign things. The Public Key is distributed and can be used to encrypt data, where only the Private Key can decrypt data. Think of it as distributing Encoder rings to your friends where only you have the Decoder ring, so your friends can send you secret messages.
- Identity - These keys can be extended with metadata that can provide Identity. Essentially the Public Key becomes a Certificate, and encryption relies on the Private Key to sign and encrypt data.
- Trust - Anyone can create a key pair and sign a certificate for a specific identity - however, in order to trust the certificate, it needs to be cryptographically signed by another trusted certificate. These Root Certificate Authorities are trusted as sources that validate signed identities that are signed by them.
- Policy - Data such as Certificates need to be trusted but not for everything, not forever, and not without restrictions such as the capabilities provided to the signed Certificates, validity periods, and if they can themselves also sign subsequent certificates in the PKI chain, provide extensions for identity, and/or encrypt data.
In the scope of creating certificates and keys for securing communication between web services and their clients, the general processes you’ll see online are:
- Create an RSA key pair
- Create a self-signed Root Certificate Authority with that key pair
- Create another RSA key pair for a web service
- Create a Certificate Signing Request (CSR) with that second key pair - the CSR has identity information such as the URLs that are being secured.
- Have the Root CA sign the CSR which will create a Certificate which can be used to secure web traffic.
A step often skipped is adding the Root CA’s Certificate to your system’s root trusted store, so while it can secure the traffic, there’s nothing stopping it from being man-in-the-middled and you’ll still be see the self-signed certificate warning in your browser.
This PKI can also be improved with a few other considerations:
- Add the Root CA’s certificate to the trusted root stores of your servers/systems, services, and workloads.
- Take the Root CA’s private key offline so that it cannot be stolen.
- Since the Root CA’s private key is taken “offline” the workflow to sign certificates becomes challenging and slow so you would create a certificate with the ability to sign subsequent certificates on the chain, thus creating an Intermediate Certificate Authority.
- Extending the PKI chain with more subordinate Signing Certificate Authorities under the Intermediate Certificate Authority that can be used “online”
- Maintaining Revocation Lists and extending via the Online Certificate Status Protocol (OCSP) in order to set early termination phases for certificates that need to be revoked and rotated.
- Allowing automated certificate requests via ACME
There are even more considerations to be made for mature and “enterprise-grade” PKI but that’s for another day - today we’ll be focusing on mostly the last bullet point, creating Root and Intermediate Certificate Authorities with ACME capabilities provided by SmallStep CA.
Creating a VM
You could deploy the SmallStep CA stack with containers but it’s generally easier to manage PKI with a VM.
I highly suggest using Fedora Server for this instance - you can download it from here: https://getfedora.org/en/server/
Create a VM with whatever hypervisor you use, be that Libvirt, VirtualBox, vSphere, etc. Give it 2vCPUs, 4GB of RAM, and 20GB of disk space.
During installation or afterwards, make sure to set a hostname and a static IP - this is so you can access the SmallStep CA server via Certbot and other ACME clients and systems.
Configuring the Fedora Server
Once the VM is created and the basic networking is in place, the next series of steps will be some one-time setup to get the instance configured with everything needed:
## Do a system update
dnf update -y

## Install required packages
dnf install -y wget firewalld

## [Optional] Install optional packages
dnf install -y nano cockpit bash-completion

## Start the FirewallD service
systemctl enable --now firewalld

## [Optional] Enable the Cockpit Web UI
systemctl enable --now cockpit.socket

## Set firewalld configuration
firewall-cmd --add-service=https --permanent
firewall-cmd --add-service=ssh --permanent
firewall-cmd --add-service=cockpit --permanent # Optional
firewall-cmd --reload

## Create a temporary directory
mkdir -p /tmp/stepbin

## Change into the directory
cd /tmp/stepbin

## Download the latest Step CLI release from https://github.com/smallstep/cli/releases
wget https://github.com/smallstep/cli/releases/download/v0.18.2/step_linux_0.18.2_amd64.tar.gz -O step-cli.tar.gz

## Download the latest Step CA CLI release from https://github.com/smallstep/certificates/releases
wget https://github.com/smallstep/certificates/releases/download/v0.18.2/step-ca_linux_0.18.2_amd64.tar.gz -O step-ca-cli.tar.gz

## Extract the packages
tar zxvf step-cli.tar.gz
tar zxvf step-ca-cli.tar.gz

## Clean up the tar packages
rm -f *.tar.gz

## Set the executable bit for the binaries
chmod a+x step*/bin/*

## Copy the binaries to somewhere in your $PATH
cp step*/bin/* /usr/local/bin/
With that you’ll have some basics set up like the FirewallD, Cockpit Web UI which can be useful, and finally the Step and Step CA CLI binaries.
Initializing the Step CA
Now that the system is setup and we have the binaries in place, we can create the Certificate Authorities
## Initialize Step CA with an SSH Provisioner and save the output to a log file
step ca init --ssh --deployment-type=standalone  2>&1 | tee -a /root/.step-ca.init
Answer the following prompts with a name for the PKI chain, the DNS name(s) and IP(s) that the CA server will run at, the port the CA server will listen on, and your email. You can also provide a password for the Root CA Key, or let it generate one - I suggest letting it generate a random and secure password. The output should look something like this:
step ca init --ssh --deployment-type=standalone  2>&1 | tee -a /root/.step-ca.init
What would you like to name your new PKI?
✔ (e.g. Smallstep): Kemo Labs SmallStep
What DNS names or IP addresses would you like to add to your new CA?
✔ (e.g. ca.smallstep.com[,1.1.1.1,etc.]): step-ca.kemo.labs
What IP and port will your new CA bind to?
✔ (e.g. :443 or 127.0.0.1:443): :443
What would you like to name the CA's first provisioner?
✔ (e.g. you@smallstep.com): ken@kenmoini.com█
Choose a password for your CA keys and first provisioner.
✔ [leave empty and we'll generate one]:
✔ Password: UB=eHVER\NEo%wbd#9I\V]eCe.zLxiKf█

Generating root certificate... done!
Generating intermediate certificate... done!
Generating user and host SSH certificate signing keys... done!

✔ Root certificate: /root/.step/certs/root_ca.crt
✔ Root private key: /root/.step/secrets/root_ca_key
✔ Root fingerprint: 575fd611fd862699e074954cd58b49942d1e392afe0bd92cb913603175a46bae
✔ Intermediate certificate: /root/.step/certs/intermediate_ca.crt
✔ Intermediate private key: /root/.step/secrets/intermediate_ca_key
✔ SSH user public key: /root/.step/certs/ssh_user_ca_key.pub
✔ SSH user private key: /root/.step/secrets/ssh_user_ca_key
✔ SSH host public key: /root/.step/certs/ssh_host_ca_key.pub
✔ SSH host private key: /root/.step/secrets/ssh_host_ca_key
✔ Database folder: /root/.step/db
✔ Templates folder: /root/.step/templates
✔ Default configuration: /root/.step/config/defaults.json
✔ Certificate Authority configuration: /root/.step/config/ca.json

Your PKI is ready to go. To generate certificates for individual services see 'step help ca'.

FEEDBACK 😍 🍻
  The step utility is not instrumented for usage statistics. It does not phone
  home. But your feedback is extremely valuable. Any information you can provide
  regarding how you’re using `step` helps. Please send us a sentence or two,
  good or bad at feedback@smallstep.com or join GitHub Discussions
  https://github.com/smallstep/certificates/discussions and our Discord
  https://u.step.sm/discord.
Since the output was saved to a log file at /root/.step-ca.init you can grab the password with the following:
STEP_CA_ROOT_PW=$(cat /root/.step-ca.init | grep 'Password' | cut -d ' ' -f 3 | head -n 1 | tr -d '[:space:]')
echo $STEP_CA_ROOT_PW

## If the password shows a blank block at the end, then echo it with the following:
echo ${STEP_CA_ROOT_PW%?}

## Save the password to a file
echo ${STEP_CA_ROOT_PW%?} > /root/.step/.ca-pw
The Root CA Password needs to be saved to a file so that you can run the CA Server Service, which we’ll make next…
Create the SystemD Service
Everything is better with SystemD. Create a service unit file that will handle starting/stopping/restarting the Step CA Server:
cat > /etc/systemd/system/step-ca-server.service <<EOF
[Unit]
Description=step-ca-server
After=network-online.target
Wants=network-online.target

[Service]
TimeoutStartSec=0
ExecStart=/usr/local/bin/step-ca --password-file=/root/.step/.ca-pw /root/.step/config/ca.json

ExecReload=kill -s sighup $(ps aux | grep 'step-ca' | grep json | tr -s ' ' | cut -f 2 -d ' ')

ExecStop=kill -9 $(ps aux | grep 'step-ca' | grep json | tr -s ' ' | cut -f 2 -d ' ')

Restart=always
RestartSec=30

[Install]
WantedBy=multi-user.target
EOF

# Reload systemd
systemctl daemon-reload

# Run the CA Server
systemctl enable --now step-ca-server
You can test the server to see if it is running of course with a systemctl status step-ca-server but also with a curl -k https://localhost:443 which should return a 404 error, which is good in this case.
Adding the ACME Provisioner
Currently the Step CA server isn’t providing ACME services, so let’s enable that as well as normal x509 PKI services by enabling the Provisioners:
## Add the ACME Provisioner to the Step CA Server
step ca provisioner add acme --type ACME --claims '{"maxTLSCertDuration": "4320h", "defaultTLSCertDuration": "744h"}'

## Add the X5C Provisioner
step ca provisioner add x5c-smallstep --type X5C --x5c-root /root/.step/certs/root_ca.crt

## Backup the CA Config
cp /root/.step/config/ca.json /root/.step/config/ca.json.bak

## Set the JWK Provisioner with more sane lifecycle lengths - defaults are 24h
jq '.authority.provisioners[[.authority.provisioners[] | .type=="JWK"] | index(true)].claims |= (. + {"maxTLSCertDuration":"8760h","defaultTLSCertDuration":"744h"})' /root/.step/config/ca.json.bak > /root/.step/config/ca.json

## Restart the service
systemctl restart step-ca-server
Add the Root CA to the local system’s Trusted Root Store
Go ahead and test the ACME server with a curl -k https://localhost:443/acme/acme/directory and you should see some JSON-formatted feedback. Note that the -k option is used in that cURL because the Root CA we generated isn’t part of the local system’s Trusted Root Store - you can add it in two different ways:
## Add the Root CA to the local system trusted root store easily with the step CLI
step certificate install /root/.step/certs/root_ca.crt

## Or, add the Root CA to the local system trusted root store manually
cp /root/.step/certs/root_ca.crt /etc/pki/ca-trust/source/anchors/

## Update the system trust bundles
update-ca-trust
Now you should be able to do a curl https://localhost:443/acme/acme/directory and get a response without a warning about an untrusted certificate!
Note that this is only applied to the trusted root store for the local system - the Root CA Certificate needs to be added to trusted stores on other systems that will leverage the Step CA service or the certificates signed by the PKI serviced.
With our PKI initialized and ACME server started, we can now create certificates!
Request a Certificate with step CLI
In case you just need a Certificate for a web service right now, you can use the step CLI to generate one signed by the Intermediate CA - here are a few examples:
## Create a certificate to secure the www.example.com service
step ca certificate www.example.com web-svc.crt web-svc.key

## Create a certificate to secure the www.example.com service and set the key type to RSA with a size of 4096 bits
step ca certificate www.example.com web-svc.crt web-svc.key --kty RSA --size 4096

## Create a certificate to secure www.example.com, with additional Subject Alternate Names (SANs) for 192.168.70.10, example.com, and api.example.com
step ca certificate --san example.com --san api.example.com --san 192.168.70.10 www.example.com web-svc.crt web-svc.key

## Create a certificate to secure the www.example.com service with a validity length of 1 year
step ca certificate www.example.com web-svc.crt web-svc.key --not-after=8760h

## Validate the certificate - take a note of the dates
step certificate inspect web-svc.crt --short
Select the provisioner you want, the JWK provisioner is fine - enter the CA password(s), it may be prompted twice, once for the Root CA and once for the Intermediate CA. Following the prompts you should now have two new files, a web-svc.crt file and a web-svc.key file. The Certificate file will also have the Intermediate CA Certificate appended to the end with the issued Server Certificate block at the top of the file - so long as the Root CA Certificate is part of the trusted root store then the chain can be validated.
Request a Certificate via ACME with Certbot
You may be used to getting certificates via an ACME client like Certbot and a vendor like Let’s Encrypt. However, Let’s Encrypt only works for publicly accessible web sites and thus does not work in disconnected networks that aren’t routed over the Internet, such as a secure enterprise subnet or your lab maybe. Instead of Let’s Encrypt, you could use the Step CA Server’s ACME provider to automatically request and renew certificates!
Beforehand, you’ll need to download the Root CA Certificate in order to the system requesting the certificate via certbot. The Root CA Certificate is located on the Step CA VM at /root/.step/certs/root_ca.crt and can be freely shared with the public - but not the key! The key is kept private and secret…I suggest hosting the Root CA Certificate somewhere like on GitHub where it can easily be downloaded by clients who need to add it to their trusted root stores.
## Add the downloaded Root CA Certificate to the system trusted root
cp /path/to/step_root_ca.crt /etc/pki/ca-trust/source/anchors/

## Update the system trust bundles
update-ca-trust

## Install certbot with pip if needed
python3 -m pip install certbot

## Use Certbot to request a certificate for server.example.com
##  from the step-ca.example.com Step CA ACME Server
##  - sudo is needed since it binds to port 80
sudo REQUESTS_CA_BUNDLE=/path/to/step_root_ca.crt \
    certbot certonly -n --standalone -d server.example.com \
    --server https://step-ca.example.com/acme/acme/directory
Now you should be able to find the requested certificate and key under /etc/letsencrypt/live/server.example.com/ which can be passed onto an Apache/HAProxy/Nginx/etc server to secure communication over SSL!
The certificates can be automatically renewed as well, and even better you can add the following to your root user’s crontab in order to never think about needing to renew:
*/15 * * * * root REQUESTS_CA_BUNDLE=/path/to/step_root_ca.crt certbot -q renewNext Steps
Now that you have a CA working, you can extend it even more - there are a number of other methods you could use to request certificates and keys from the Step CA server, such as for OIDC SSO tokens, JWTs, SSH, etc. They even have a hosted version of the platform with a Web GUI in case that meets your needs a bit better. You can find more information in the Step CA Documentation.

